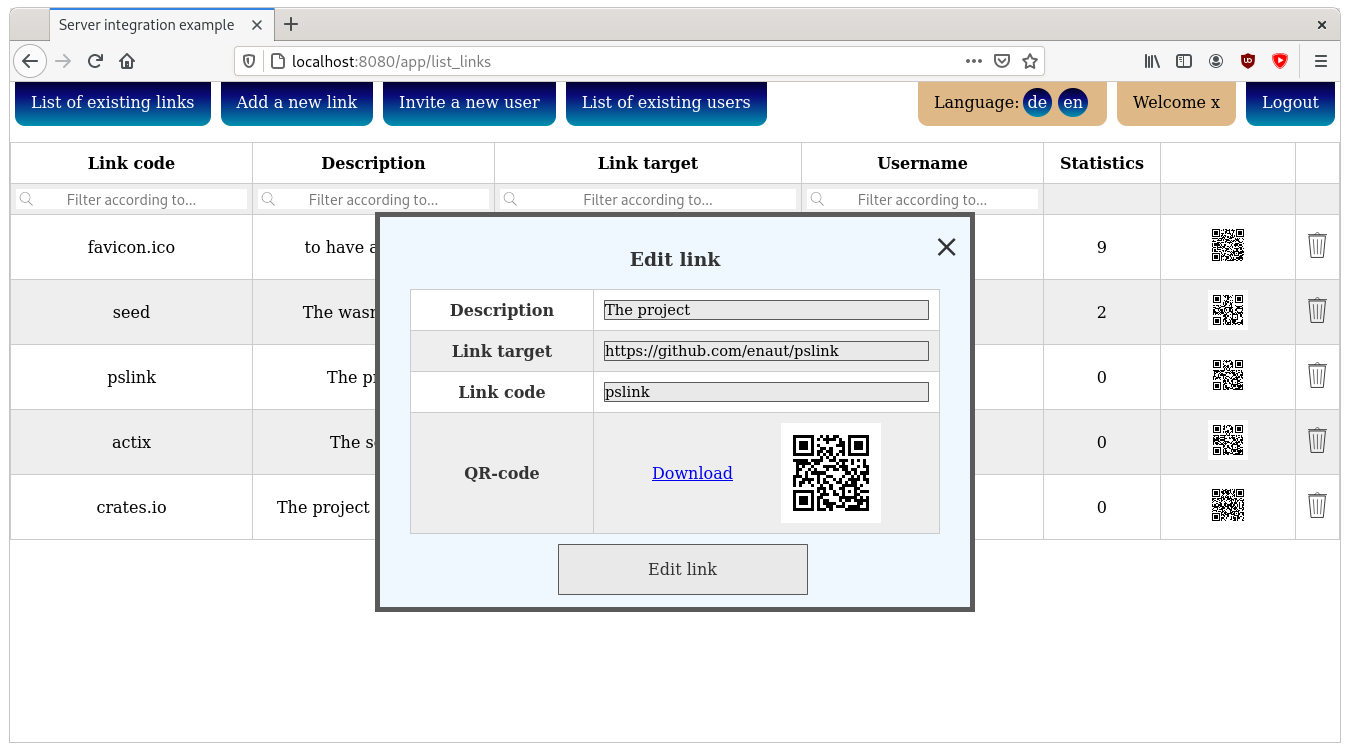
Pslink a "Private Short Link page"
The target audience of this tool are small entities that need a url shortener. The shortened urls can be publicly resolved but only registered users can create short urls. Every registered user can see all shorted urls but ownly modify its own. Admin users can invite other accounts and edit everything that can be edited (also urls created by other accounts).
So in general this is more a shared short url bookmark webpage than a shorturl service.
What users can do
Guests (no account)
- click on link get redirected to the page
- error on invalid or deleted link
Users (regular account)
- view all existing links
- modify all own links
- create new links
- download qr-codes of the links
- modify own "profile" settings
Admins (priviledged account)
- everything from users
- modify all links
- list all users
- modify all profiles
- create new users
- make users administrators
- make administrators normal users
What the program can do
The Page comes with a basic commandline interface to setup the environment.
Commandline
- create and read from a
.envfile in the current directory - create and migrate the database
- create an admin user
- run the webserver
Service
- admin interface via wasm
- Rest+Json server
- Tracing via Jaeger
Usage
install binary
The pslink binary can be downloaded from the latest release at: https://github.com/enaut/pslink/releases
These binaries are selfcontained and should run on any linux 64bit sy"stem. Just put them where you like them to be and make them executable. A sample install might be:
# mkdir -p /opt/pslink
# wget -o /opt/pslink/pslink https://github.com/enaut/pslink/releases/latest/download/pslink_linux_64bit
# chmod +x /opt/pslink/pslink
You could now adjust your PATH or setup an alias or just call the binary with the full path /opt/pslink/pslink
Install with cargo
cargo install pslink does not (yet) produce a working binary! Use the "install binary" or "build from source" approach
Build from source
Checkout the git repository and within its root folder issue the following commands. Internet es required and some packages will be installed during the process.
$ cargo install cargo-make
$ cargo make build_release
# or to immediately start the server after building but
# as you probably do not yet have a .env file or database
# this will fail.
$ cargo make start_release
If that succeeds you should now be able to call pslink. The binary is located at target/release/pslink and can be moved anywhere you want.
When building manually with cargo you may have to have a sqlite database present or build it in offline mode. So on your first build you will most likely need to call:
SQLX_OFFLINE=1 cargo make build_release
# or
$ export SQLX_OFFLINE=1
$ cargo make build_release
If pslink is built with cargo make build_standalone everything is embedded and it should be portable to any 64bit linux system. Otherwise the same or newer version of libc needs to be installed on the target linux system. Note that you need to install musl-gcc for this to work using: sudo dnf install musl-libc musl-gcc or sudo apt-get install musl-tools.
Templates and migrations are allways embedded in the binary so it should run standalone without anything extra.
Setup
To read the help and documentation of additional options call:
pslink help
To get Pslink up and running use the commands in the following order:
-
pslink generate-envthis will generate a
.envfile in the curent directory with the default settings. Edit this file to your liking. You can however skip this step and provide all the parameters via commandline or environmentvariable. It is not recommended to provide PSLINK_SECRET with commandline parameters as they can be read by every user on the system. -
pslink migrate-databasewill create a sqlite database in the location specified.
-
pslink create-admincreate an initial admin user. As the page has no "register" function this is required to do anything usefull. The command is interactive so you will be asked the username and password of the new admin user.
-
pslink runserverIf everything is set up correctly this command will start the service. You should now be able to go to your url at [http://localhost/app/] and be presented with a login screen.
Run the service
If everything is correctly set up just do pslink runserver to launch the server.
Update
To update to a newer version execute the commands in the following order
- stop the service
- download and install or build the new binary
- run
pslink migrate-database - run the server again
pslink runserver
Help
For a list of options use pslink help. If the help does not provide enough clues please file an issue at: https://github.com/enaut/pslink/issues/new
Systemd service file
If you want to automatically start this with systemd you can adjust the following template unit to your system. In this case a dedicated pslink user and group is used with the users home directory at /var/pslink. Some additional settings are in place to protect the system a little should anything go wrong.
# /etc/systemd/system/pslink.service
[Unit]
Description=Pslink the Urlshortener
Documentation=https://github.com/enaut/Pslink
Wants=network.target
After=network.target

[Service]
User=pslink
Group=pslink
EnvironmentFile=-/var/pslink/.env

ProtectHome=true
ProtectSystem=full
PrivateDevices=true
NoNewPrivileges=true
PrivateTmp=true
InaccessibleDirectories=/root /sys /srv -/opt /media -/lost+found
ReadWriteDirectories=/var/pslink
WorkingDirectory=/var/pslink
ExecStart=/var/pslink/pslink runserver

[Install]
WantedBy=multi-user.target
Setup a demo container
First build the standalone binary:
$ cargo make build_standalone
Create a temporary directory and copy the binary from above:
$ mkdir /tmp/pslink-container/
$ cp target/x86_64-unknown-linux-musl/release/pslink /tmp/pslink-container/
Run the container (podman is used here but docker could be used exactly the same):
$ podman run --expose 8080 -p=8080:8080 -it pslink-container ./pslink demo -i 0.0.0.0
Note that this is absolutely not for a production use and only for demo purposes as the links are deleted on every restart.

